

Completing onboarding
The first time you sign in, the portal walks you through a seven-step onboarding wizard. It takes about ten minutes, and you only do it once for your company. Each step saves as you go, so you can leave and pick up where you stopped.
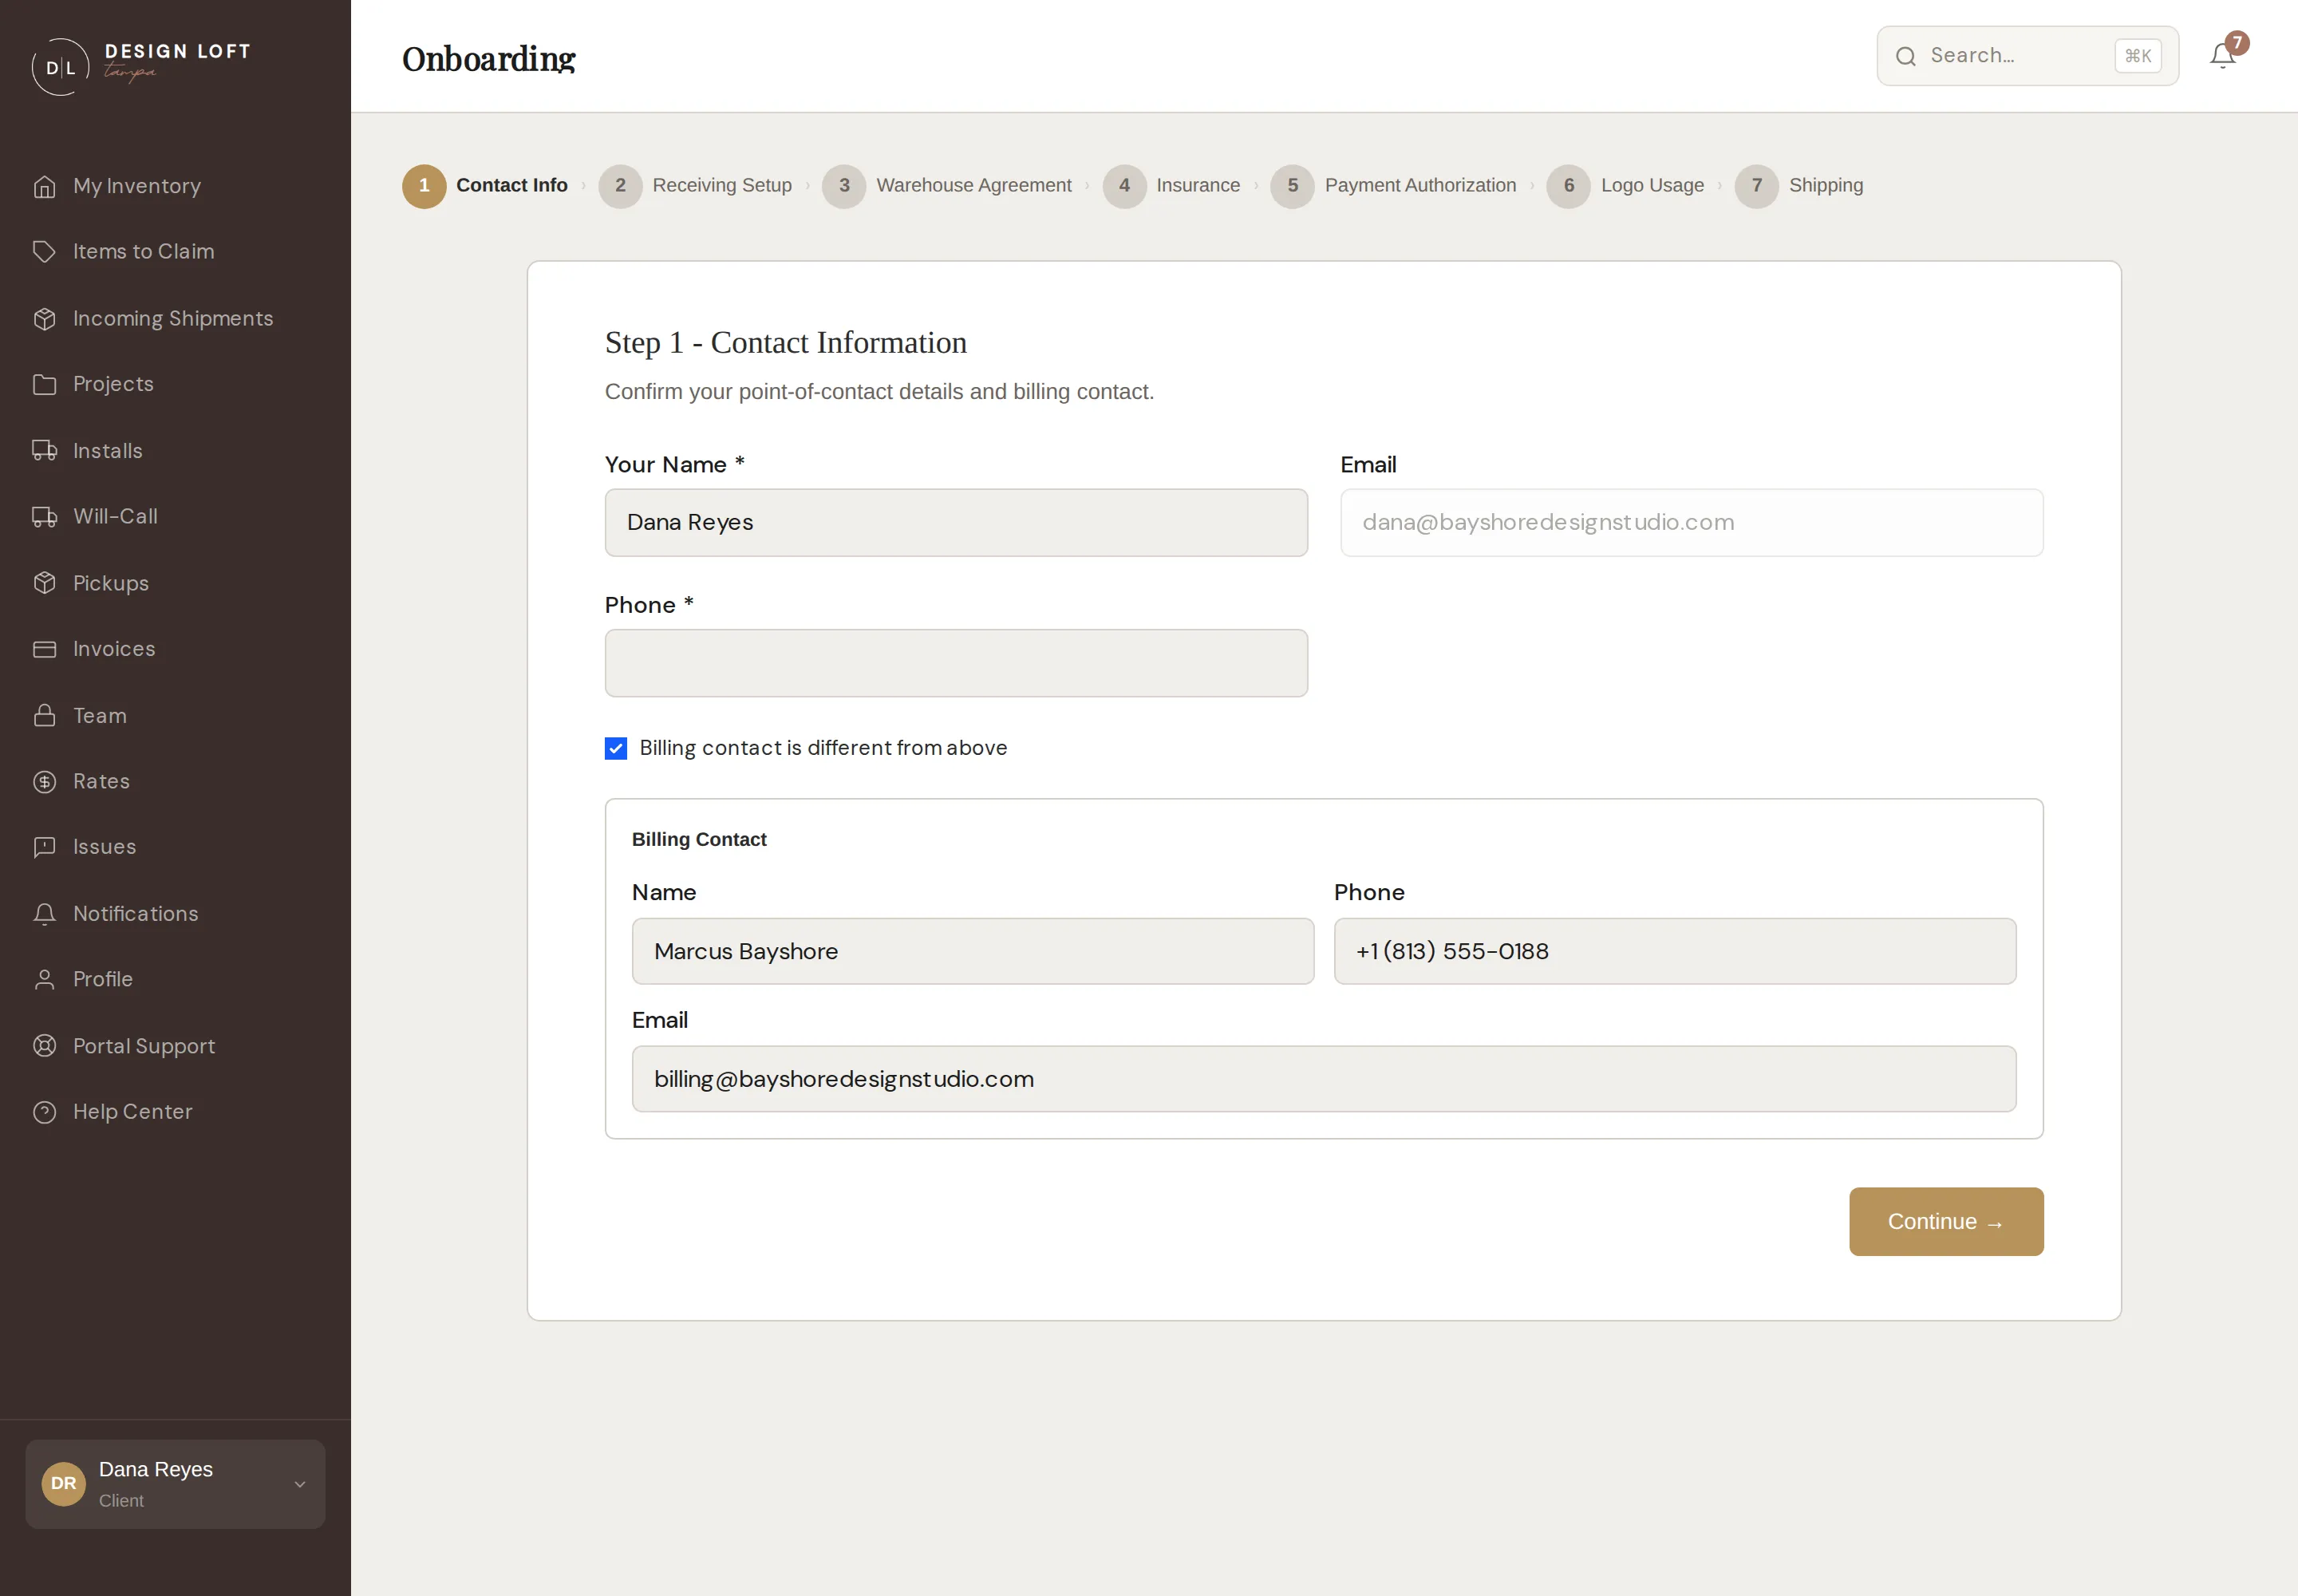
The seven steps
Section titled “The seven steps”- Contact Info. Confirm your name and phone, and optionally add a separate billing contact if invoices should go to someone else.
- Receiving Setup. Review the details we need with every shipment, and give us your PO prefix and preferred vendors so we can match arrivals to you faster.
- Warehouse Agreement. Read the agreement and initial the key sections - insurance responsibilities, rates and card-on-file authorization, damage liability, and the storage rates (the monthly rate for the space your items take up, plus the flat base storage fee that applies in any month we are holding items for you). The Schedule of Rates inside it also lists the per-piece receiving rates, the optional rug inspection rate, and the surcharge for boxes that arrive without a sidemark - see How receiving is charged. Once you are signed in, the same amounts are on the Rates page in your sidebar, kept current - see Rates. Then type your name to sign; the portal renders your signature and initials and dates the document.
- Insurance. Acknowledge your insurance obligations, and optionally upload your certificate of insurance (carrier, policy number, expiration). You can add or update all of this later at any time from Profile → Insurance - see Your profile.
- Payment Authorization. Choose how you prefer to pay: bank account / check, or credit card. Card payments carry a processing fee, and the step names it before you confirm. It is charged only when we actually run your card against an invoice, never on the day you save it - see The processing fee when we charge your method on file. As with the rest of the agreement, the Rates page in your sidebar is the current rate once you are signed in.
- Logo Usage. Tell us whether we may use your logo (for example in a client list), and upload it if you like. You can turn this permission off - or back on - any time from Profile → Logo authorization.
- Shipping. Review the warehouse shipping instructions, download a copy for your vendors, and optionally add your first install address. Select Complete Onboarding to finish.
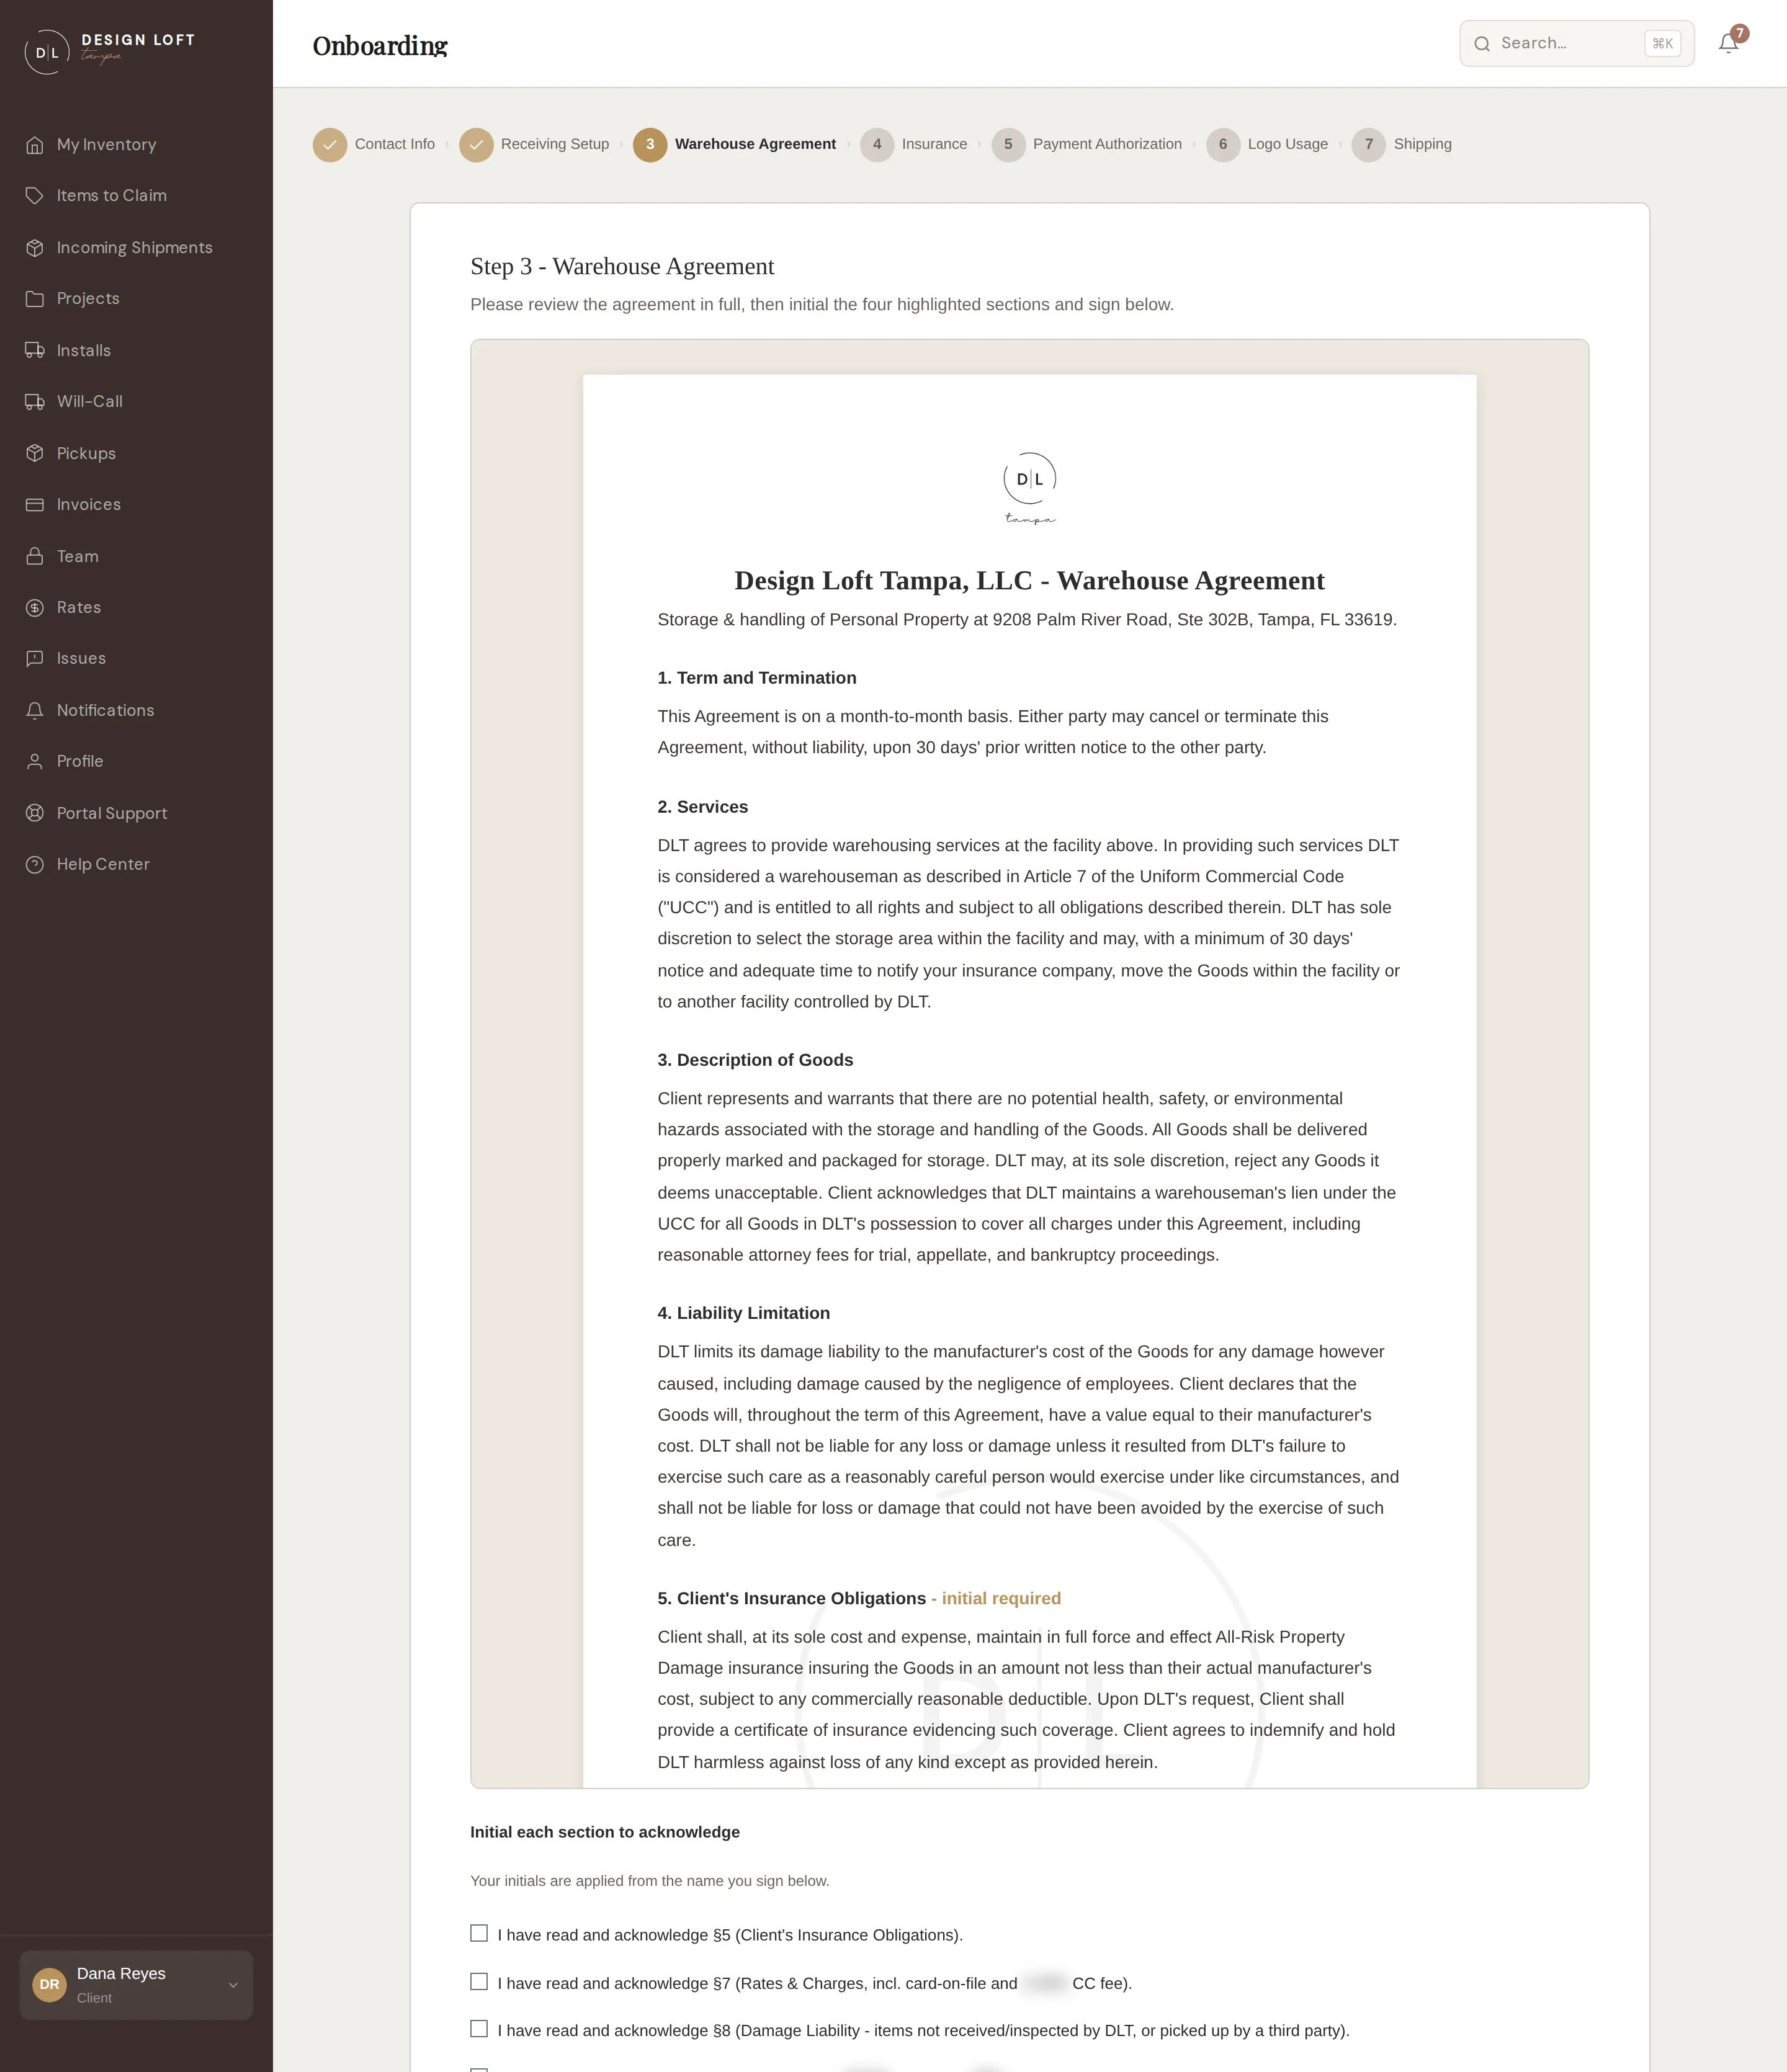
Your signed agreement
Section titled “Your signed agreement”After signing, your agreement is always available as a PDF - from the Your Documents card on the dashboard and from Profile → Documents. It includes your typed signature, initials, and the date you signed.
Your copy is kept exactly as you signed it, so it is never rewritten afterwards. If you signed a while ago, the Schedule of Rates in your copy may list an older, shorter set of receiving rates than the ones we charge today. The Rates page in your sidebar is always the current list - see Rates - and if the two do not match, ask us and we will send you an up-to-date copy to sign.
Right after onboarding
Section titled “Right after onboarding”The portal asks for a payment method on file (card or ACH) before opening the dashboard - this is the authorization you gave in step 5, put into practice. See Payment methods.